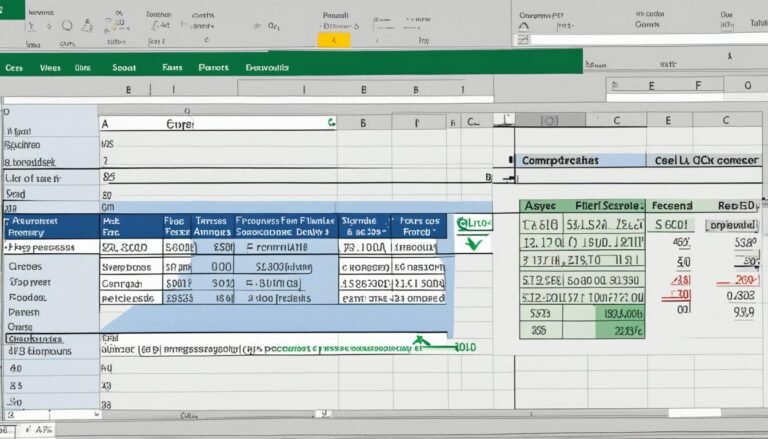
How To Create a Pivot Table in Excel: A Step-by-Step Guide
We are focusing on one of Excel’s most dynamic and powerful features: Pivot Tables. Pivot Tables allow you to summarize, analyze, and present your data in a myriad of insightful ways. Whether you’re crunching numbers for business insights or managing personal data, mastering Pivot Tables will elevate your Excel game. Let’s dive into the step-by-step process of creating a Pivot Table, tailored just for you by our Excel experts.
Table of How To Create a Pivot Table in Excel
Step 1: Data Preparation
The journey to a successful Pivot Table begins with your data. For Pivot Tables to work their magic, your data needs to be in a clean, organized format. This means having your data set up in a table with each column labeled with a header, ensuring there are no blank rows or columns within your data range. Think of it as laying a solid foundation before building a house.
Step 2: Initiating the Pivot Table
- Select Your Data: Click anywhere inside your dataset. Excel is smart enough to recognize the boundaries of your data, but a quick manual check ensures nothing is missed.
- Insert the Pivot Table: Navigate to the “Insert” tab and click on “PivotTable.” A dialog box will pop up, offering you the choice to place your Pivot Table in a new or existing worksheet. For clarity and ease of analysis, placing it in a new worksheet is often the best choice.
Step 3: Crafting Your Pivot Table
With your Pivot Table canvas ready, it’s time to paint your data masterpiece:
- Choose Your Fields: The PivotTable Field List pane appears, showing your data categories. Drag and drop these fields into the “Rows” or “Columns” areas to start shaping your Pivot Table. This step determines how your data will be organized.
- Calculate Your Data: Drag fields to the “Values” area to perform calculations on your data. Excel will default to counting or summing these items, but you can customize this by exploring the “Value Field Settings.”
- Filter for Focus: For a more targeted analysis, use the “Filters” area to include only specific segments of your data in your Pivot Table.
Step 4: Refining Your Analysis
Now that your Pivot Table is taking shape, it’s time to refine and customize:
- Explore PivotTable Tools: Excel offers “Analyze” and “Design” tabs under PivotTable Tools, providing options to further customize and format your Pivot Table for clearer insights.
- Style Your Table: Apply different styles and formats to make your Pivot Table not only informative but also visually appealing.
- Interact with Your Data: Consider adding slicers and timelines for interactive filtering, allowing you to dynamically adjust what data is displayed.
Step 5: Keeping Your Data Fresh
As your underlying data changes, your Pivot Table won’t automatically update. To refresh your analysis:
- Refresh with a Click: Simply right-click within your Pivot Table and select “Refresh” to update it with any new or changed data.
Embracing Pivot Table Potential
Creating a Pivot Table in Excel might seem daunting at first, but with these steps, you’re well on your way to unlocking profound insights within your data. We are passionate about making Excel work for you, turning complex data into actionable intelligence with ease.
Remember, the power of Pivot Tables lies in experimentation and exploration. Each step you take builds your confidence and competence in not just Pivot Tables, but in all of Excel’s capabilities. So, dive in, play with your data, and watch as Excel’s Pivot Tables transform numbers into narratives. Happy pivoting!